
CHAPTER 03 — SURFACE PREPARATION, PLASTERBOARD AND PLASTERING
The visible finish is only one part of a successful bathroom renovation. Every tile, sealant line and painted ceiling sits on a wall or floor that first has to be assessed, repaired or rebuilt. Ivan Bodnar, an independent renovation specialist, gives this layer careful attention on bathroom renovations in Caulfield and surrounding Melbourne suburbs.
WHAT THIS LAYER COVERS
— Surface preparation
Removing old adhesive and loose material, then making good damaged areas so walls and floors are ready for the next stage.
— Plasterboard installation
New sheets where the existing linings can’t sensibly be reused.
— Plastering
Jointing, setting and finishing the ceilings and walls that won’t be tiled.
Not in this layer: plumbing, electrical and other regulated work, which is done by appropriately licensed specialists.
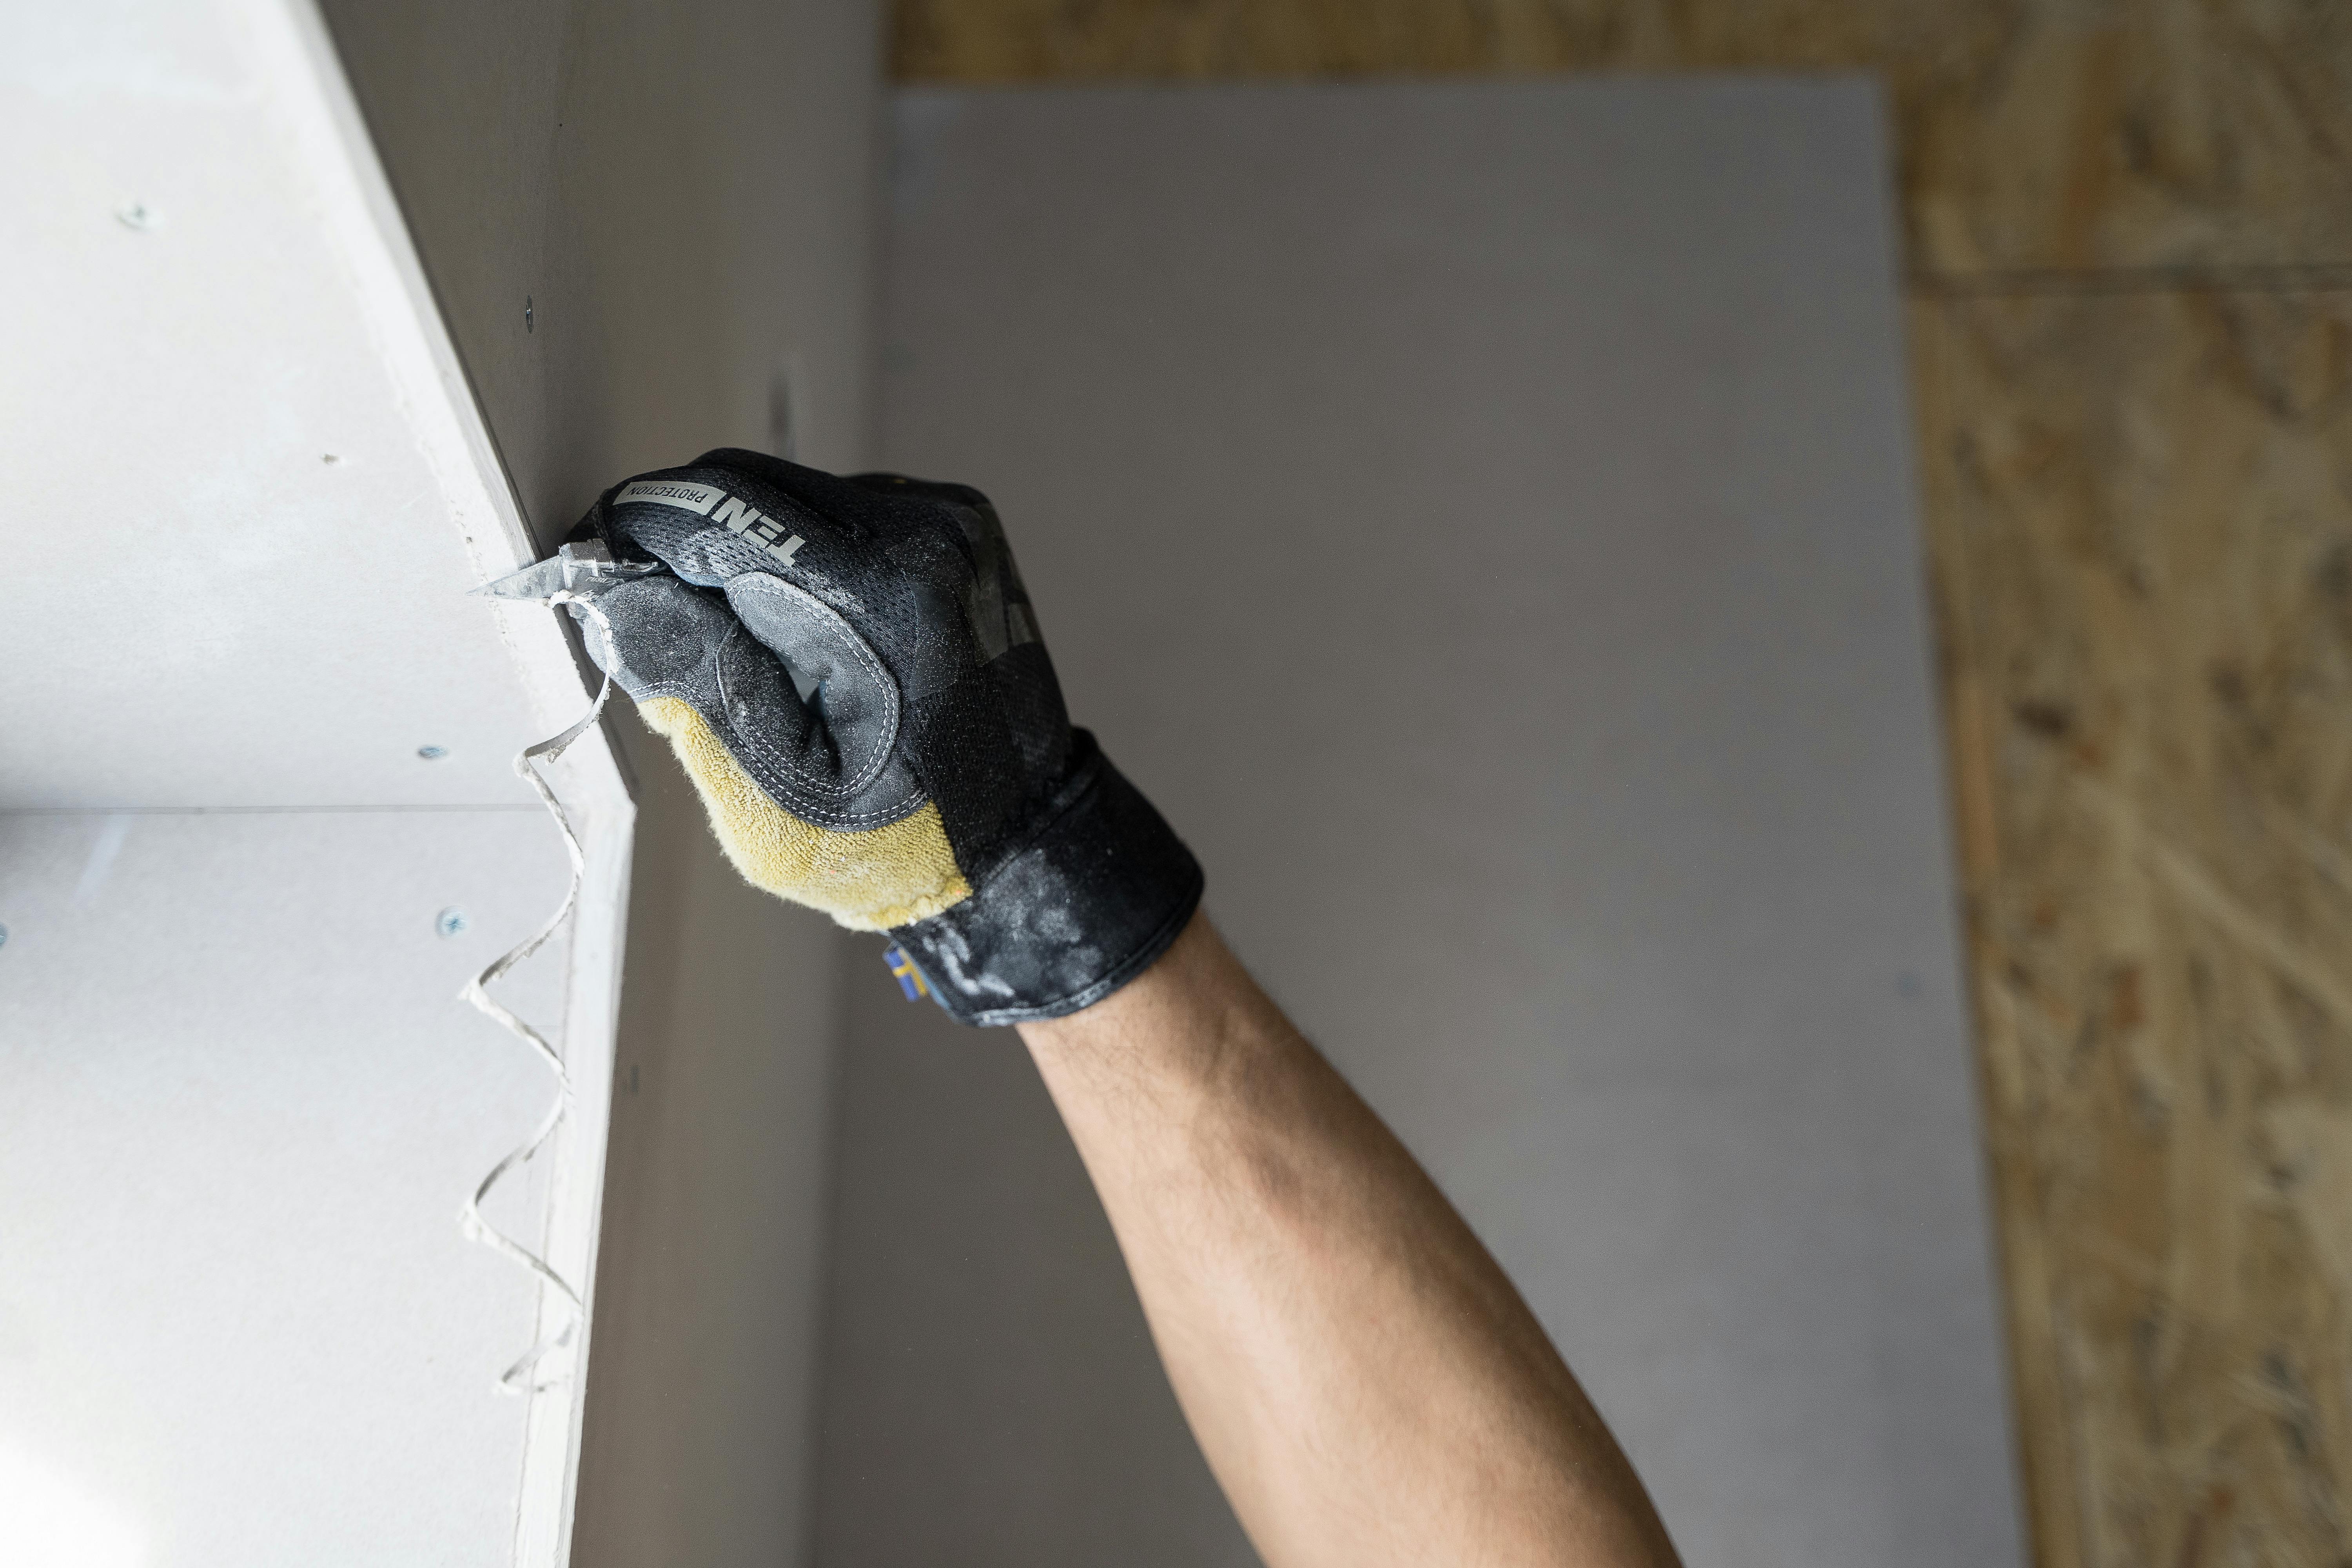
Reference photo: trimming the edge of a plasterboard sheet in an unfinished interior.
BENEATH THE FINISH
Many homeowners first notice the surface: cracked tiles, grout that’s falling apart, or a ceiling that’s started to stain and bubble. Those signs often point to the surface underneath. Tiling over a wall that is out of plane, or still has old adhesive on it, can leave you with a finish that never sits right.
Surface preparation is the practical work between the strip-out and the new finish. It means working out what can stay, what needs repair and what should be replaced, and leaving walls, floors and ceilings in a condition that suits the system planned for them.
Ivan’s practical experience covers tiling, flooring, surface preparation, plasterboard installation and plastering. Because one person handles both the preparation and the work that follows, you discuss the whole sequence with the person doing it.
STEP 1
Check what’s visible: movement, drummy tiles, staining and uneven walls. Then note what can only be confirmed once linings come off.
STEP 2
Take off old adhesive and loose material, repair damaged areas and decide where the existing linings can stay.
STEP 3
Fit new sheets where they’re needed, so the next stage starts from a sound, straight base.
STEP 4
Joint and finish the untiled surfaces, then leave the tiled areas ready for the planned system.
SUBSTRATE AND SYSTEM
Whether a wall or floor is ready for tiling depends on the existing substrate and the system proposed for it. The same tile can suit one surface and need extra preparation on another.
Existing conditions and concealed issues can also change the scope after work begins. Some problems only show once tiles or sheets are removed. When that happens, Ivan explains what he has found, what it means for the next stage and what is still uncertain. You won’t be asked to guess.
For more detail, read Preparation Before Tile: Why the Substrate Matters.

Reference photo: compound being applied along a wall-to-ceiling joint.
BEHIND THE LININGS
Plumbing, electrical and other regulated work often sits inside the walls and floors that preparation leaves exposed. Appropriately licensed specialists carry out that work. Ivan may coordinate when they come in, so new linings and plastering are scheduled around them rather than redone afterwards.
Read more about Licensed Specialist Coordination and how an on-site assessment looks at existing conditions.
RELATED LAYERS
Tell Ivan what you’re seeing in your bathroom and where you’re located. Before you get in touch, it may help to read what to have ready.